
A leaking roof isn’t just an annoyance, it can cause significant harm to your house and belongings as well as the cost of dealing with any repairs. The fortunate thing is that numerous rooftop leaks are identifiable and fixable by homeowners themselves if they understand what to look for and how to address and fix the issue. This post will guide you through a step-by-step procedure on pinpointing and fixing roof leak issues so you have better control over looking after your home’s maintenance while dodging expensive shocks.
By following these tips in this blog post, one should feel confident enough to take care of minor roof repair work alone but also be aware when something may require expert help or pose too great of a risk being done without professional assistance from a roofer. By taking precautionary measures early on towards maintaining roofs it’s possible to keep away future occurrences while keeping up quality upkeep of your property.
Key Takeaways
- Identify signs of roof leaks and take prompt action to prevent Damage.
- Conduct a professional inspection of the attic to identify water damage.
- Regular maintenance & attention to minor issues can help preserve home longevity & avoid roof leaks.
Identifying Signs of a Roof Leak
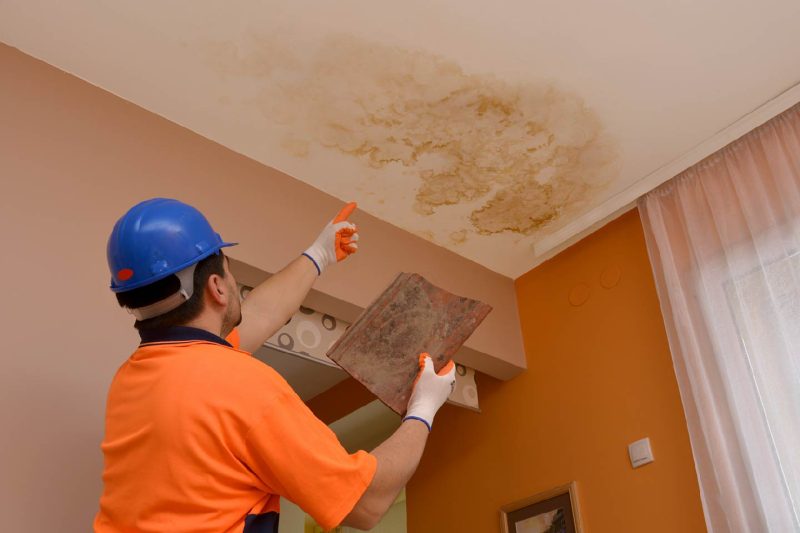
In the event of a leaky roof, it is necessary to pay attention to some signs. Inside your home, watch out for discolored walls and ceilings as well as strong odors coming from the attic, these may indicate that water has been seeping in through the roof. On top of this, look out for small spots on ceilings too, which could be caused by leaking roofs if not attended promptly. Damage like mold growth, rotting framing/sheathing along with ruined insulation or damaged ceiling might also occur due to minor leaks being left unnoticed over time.
Outdoors view potential damages such as rusting flashing around chimneys or missing tiles while noting possible inflow into exterior walls via cracks near windows or corner boards etc., A swift reaction concerning maintenance must take place since major problems can arise even when dealing with tiny leaks- particularly harming external wall structures significantly down the road.
Inspecting Your Attic for Leaks
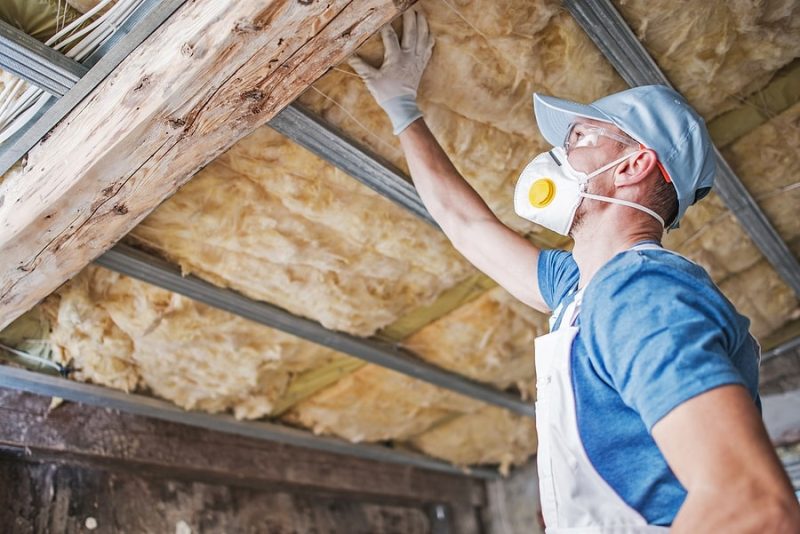
When checking for water damage in the attic, make sure you have secure access and a well-lit area. Look out for visible signs of roof leaking such as dampness, black marks, stains on rafters and sheathing, these are all key indicators that could suggest leaks. Keep an eye open to any mould or any other telltale signs or symbols which point towards possible leakages from your rooftop structure.
Accessing the Attic Safely
When it comes to any roof-related inspection, your safety should be your number one priority. When accessing the attic in search of potential leaks from above, you need to take a few precautions. Firstly, by using an appropriate ladder to reach the access panel usually located in either a wall or ceiling area. Once inside the above ceiling space, make sure that your footing is secure and walk on wooden boards/platforms rather than insulation or other hazardous materials found within this airspace. Long sleeves & pants are also recommended as protective attire against attic dust & insulation alike whilst completing closer inspections for roofs, thereby permitting greater safe security around these areas before beginning work inspecting possible problems like leakages.
Using a Flashlight or Mirror
Once you have made sure to be properly situated in the location of the leak or attic, having a good source of light is key for identifying any leak symptoms. Utilize a flashlight or mirror as they are great tools which can reveal hidden parts and dark spots during wet days where leaks more often take place. Keep an eye out for water stains, mold growths, discolorations or other clues that suggest damage could possibly be present.
If signs of leaking are seen, it’s essential to move quickly so additional harm won’t happen within your household premises. Once a leak appears found, resolve the issue by performing outdoor roof investigations and – if needed – involve specialist help from professional roofers.
Exterior Roof Inspection
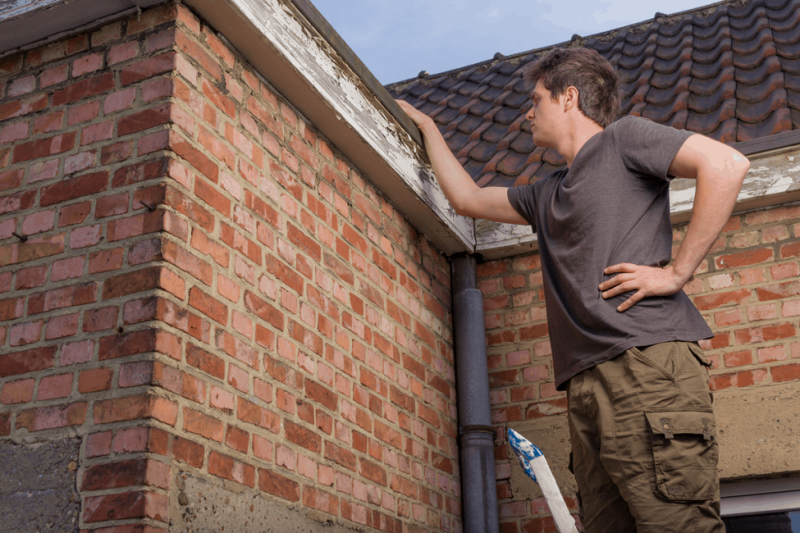
Inspecting the roof from outside is just as important to spot any potential leaks, and homeowners should be looking for signs of damage such as damaged shingles, loose vent boots, worn out flashing or sagging fascia boards. It’s a good idea to check downspouts too since clogged gutters can lead to leaking roofs that will affect interior walls.
It’s also wise to carefully examine all points where penetrations are present – like plumbing vents, chimneys or dormers – for cracks which could indicate water leakage.
Assessment of the whole attic insulation must not be neglected. Areas with high moss and algae growth may need maintenance work otherwise they may cause issues relating specifically to the roof of your house when left unchecked.
Examining Roof Penetrations
When searching for roof leaks, be sure to inspect any penetrations on the rooftop. Particular attention should be given to plumbing vents, chimneys and dormers as these regions often have gaps or cracks that can lead to water leakage if not addressed immediately. Missing shingles are a common weak spot when trying to find potential sources of dripping. It is vital you keep an eye out for them too.
If unmistakable signs of deterioration appear then urgent action needs taking in order to avoid greater harm caused by the leaky areas on your roof surface.
Inspecting Gutters and Flashing
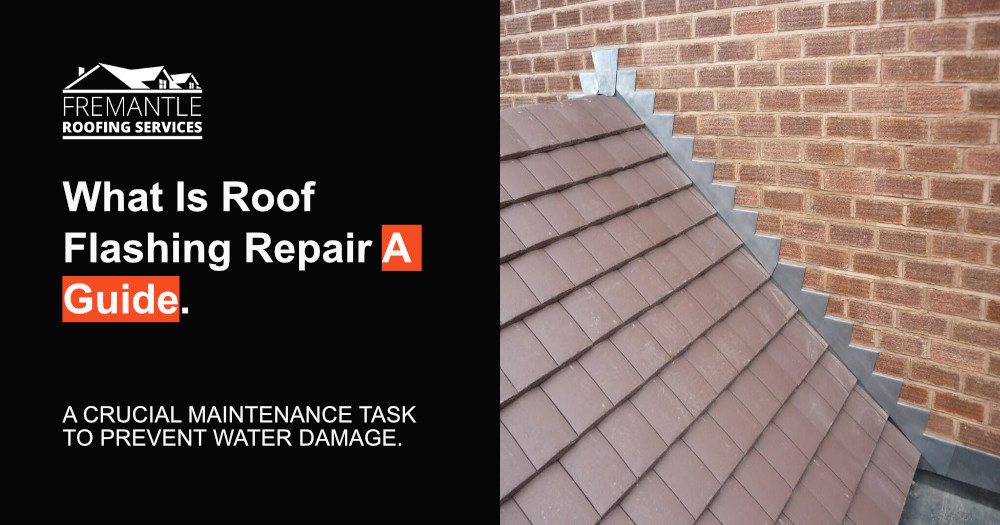
To prevent roof leaks and any water damage to your home, inspecting gutters and flashing is essential. Flashing can be found sealing the joints in metal roofs or around chimneys/ventilation pipes, with signs of damage like tears or rust visible on corrugated iron sheets. Gutters should also have their fasteners checked for looseness/missing pieces along with a search for clogging debris & rusting corrosion symptoms that could result in damaging leakage from your roof system. Regular inspection & upkeep will help ensure proper functionality while protecting against leaks as well.
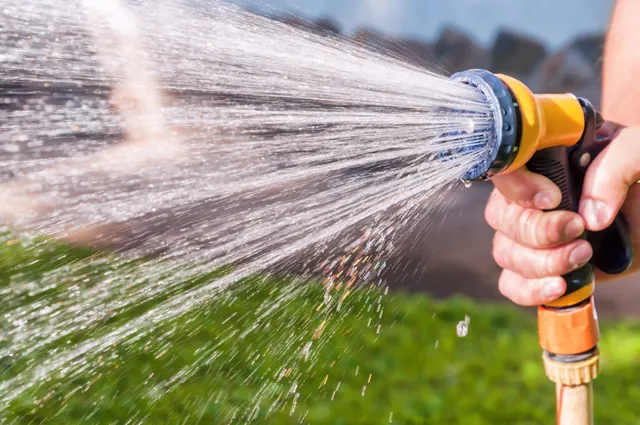
The Garden Hose Test
If you still haven’t found the source of your roof leak, a helpful approach could be using the garden hose test. Here are the steps: Have someone inside monitoring for any dripping water as you spray sections of the roof with a garden hose. Concentrate on spots where it’s likely that small leaks that would show up and when they do let them know.
In cases in which this technique doesn’t help figure out exactly where those pesky leaks come from, try removing shingles in suspicious places to gain evidence and identify its location even better.
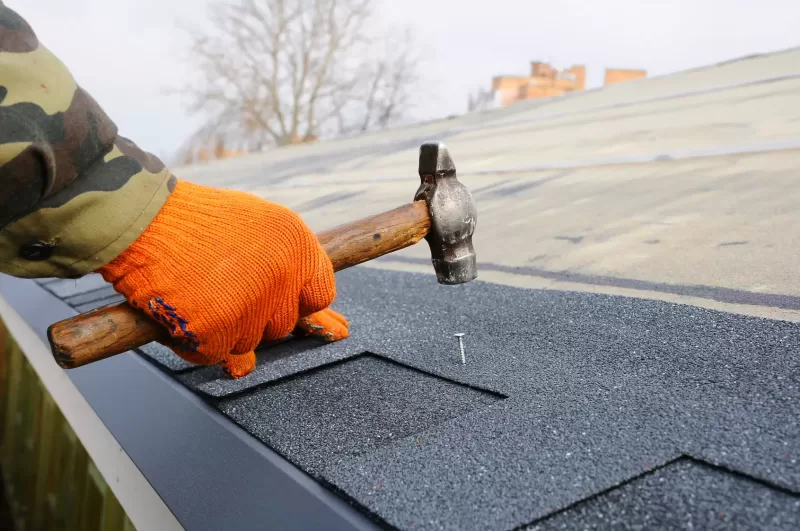
DIY Roof Leak Repair Techniques
If you are dealing with roof leaks, the best way to save money and preserve your home is by taking proactive steps for repairs. Identifying where the leak originates can help pinpoint necessary repair methods such as patching any openings in a sealant or replacing damaged shingles that may be causing trouble. If needed, it’s important to consult an experienced professional roofer who could advise on how best to proceed with quick leaking roof repair before damage occurs.
DIY efforts for fixing minor issues related to rooftop leakage like tightening up loose vent boots would also aid in ensuring strong protection against costly water-induced property deterioration over time, thereby safeguarding its market value too.
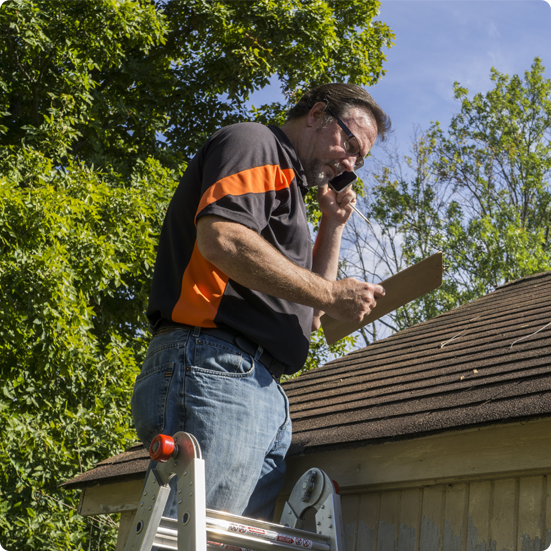
When to Call a Professional Roofer
It’s essential to comprehend when a roof leak surpasses the complexity or safety levels of Do-it-Yourself repair approaches. When substantial structural damage has occurred and the problem is not easily fixed, it’s wise to call in an experienced professional roofer for accurate estimates and proper repairs. Knowing what needs fixing yourself versus hiring a specialist can help avoid extra expenses down the line while also keeping your home secure against water infiltration from leaks on new roof or any part of its exterior surface – whether that be due to cracks, broken shingles or something else altogether.
Preventative Maintenance to Avoid Roof Leaks
It is essential to take proactive steps in order to prevent roof leaks and protect your home from damage. Regular maintenance such as inspections, gutter cleaning, and checking the plumbing system will help identify any problems before they become more serious. Also, it’s important that you quickly address minor damages like broken shingles or loose vent boots so they don’t get worse over time. Repairing these small issues promptly can save your roof from Deterioration due to leaks in the future.
Summary
In the end, it is critical to identify and repair roof leaks in order to preserve your home’s integrity and avert costly damage. By following this blog post’s detailed guidelines, you can spot the telltale signs of leakage quickly, inspect both attic space as well as outer areas of your rooftop before carrying out a garden hose test for more precise results, eventually handle any minor repairs yourself or have them done professionally. It is essential that routine maintenance should be carried out consistently alongside regular evaluations so water-caused harm from potential future drops may not become an issue anymore.
Whether owning a house already or buying one for the first time, being aware of maintenance matters related to roofs will guarantee financial savings along with lots less stress over leakages connected problems – all while having confidence that the stains inside their domicile won’t suffer due to unwanted moisture effects which might lead to greater problems down the road if left unresolved on time. By taking charge and tending timely to finds regarding leaking roofing components, even untrained homeowners can reap its rewards!





Leave A Comment